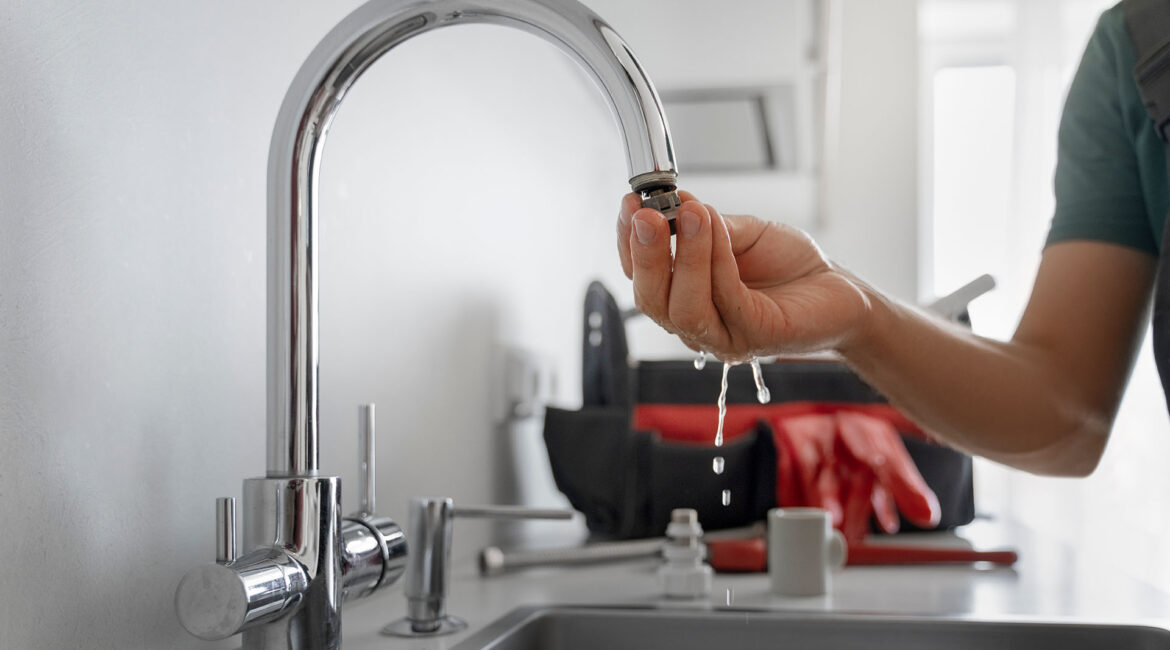
Every second, that dripping faucet wastes enough water to fill an Olympic swimming pool every three months – about 38,000 litres (10,000 gallons) annually per household. Yet most homeowners live with the constant drip, thinking repairs require expensive plumber visits.
Here’s what we’ve discovered: roughly 90% of leaks take under an hour to repair with tools you already own. The trick isn’t having special skills – it’s knowing which type of faucet you’re dealing with and following the right steps.
What You’ll Discover
By the end of this post, you’ll know exactly how to:
- Identify Your Faucet Type in 30 Seconds – The visual inspection method for all four types
- Fix Any Room’s Faucet – Kitchen, bathroom, and utility repair strategies
- Avoid the #1 Repair Mistake – Why over-tightening destroys more faucets than leaks
- Recognize Professional-Only Repairs – Clear warning signs that DIY could cause damage
Reading time: 3 minutes | Difficulty: Beginner
The Four Faucet Types That Determine Your Strategy
Quick Identification Guide
- Compression Faucets: Two separate handles that turn multiple rotations. Common in older homes. Leaks from worn washers or O-rings.
- Ball Faucets: Single handle on a rounded cap, moves in all directions. Kitchen favorite. Internal ball mechanism controls flow.
- Cartridge Faucets: Handles turn just a quarter or half rotation. Smooth operation. The entire cartridge unit is replaced when worn.
- Ceramic Disk Faucets: Wide cylindrical body, single handle. Premium option. Two ceramic disks slide against each other.
Quick Win Exercise
Try This Now: Count handle turns from closed to open. More than one turn? Compression. Quarter turn? Cartridge. Single handle on dome? Ball. Wide cylinder? Ceramic disk.
Kitchen Faucet Mastery
Kitchen faucets endure 40 daily uses – more than any fixture. Here’s the critical insight: approximately 20% of “faucet” leaks actually come from the sprayer diverter.
Step-by-Step Repair
- Prep: Turn off supply valves under sink. Place a towel to catch parts.
- Document: Photograph before removing anything.
- Access: Remove decorative caps and handle screws.
- Replace: Install new components per your faucet type.
- Test: Turn the water on slowly, check all connections.
Pro Tip: Before replacing parts, check the sprayer connection under your sink. Tighten hand-tight plus quarter turn.
Bathroom Battles
Bathroom faucets face toothpaste, soap scum, and mineral buildup. Before replacing parts, soak the components in white vinegar for an hour; this often fixes “failed” parts without the need for replacement.
The pop-up drain complicates access. Remove the horizontal rod connecting to the drain stopper for full faucet access.
Utility and Outdoor Faucets
Utility faucets see extreme temperature swings. When replacing one washer, replace both hot and cold simultaneously.
Outdoor frost-proof faucets have stems up to 30 centimetres (12 inches) long. Budget 45 minutes for these repairs.
When To Call a Pro?
Safety Red Flags:
- Gas odors near the water heater
- Electrical components near leaks
- Water toward electrical outlets
Complexity Concerns:
- Wall-mounted faucets
- Vintage fixtures
- Persistent leaks after attempts
Bottom Line
That dripping faucet wastes water and money through higher bills. Armed with this guide, you possess everything needed to diagnose and repair faucet leaks throughout your home. Most discover the hardest part isn’t the repair – it’s starting.
Key Takeaways
- Identify First – Faucet type determines entire repair strategy
- Check Sprayer Connections – 20% of kitchen leaks hide here
- Try Vinegar First – Mineral buildup mimics broken parts
- Don’t Over-tighten – Snug plus quarter turn prevents cracks
- Know Your Limits – Wall-mounted or persistent leaks need pros


