The 5-Minute Sump Pump Check
TL;DR
Short on time? Here is the whole post. Fill a bucket, pour it slowly into the sump pit, and watch. The float should rise, the pump should kick on, move the water fast, and shut off by itself. Anything else means a small fix now, or a plumber before the fall rain settles in.
October in South Surrey means one thing for your basement: rain, and lots of it. Your sump pump has been sitting idle through the dry summer months. Now it has one job, and it has to work the first time the soil around your foundation saturates.
The good news is that testing a sump pump takes about five minutes and one bucket of water. Here is the whole test, what to watch for, and where to draw the DIY line.
What you need before you start
You do not need tools for this test. Grab these few things first:
- A large bucket, around 20 litres
- A flashlight, because sump pits are rarely in bright corners
- Old towels or a rag, for the drips that always happen
- Work gloves, if your pit has not been opened in a while
One safety note before the lid comes off. You are working with water near an electrical outlet. Keep your hands dry when you touch the plug, and never reach into a full pit while the pump is running.
If the outlet near your pit has no ground fault protection, the test is still fine. Just note it for later, because that fix belongs on a pro’s list, not yours.
The five-minute bucket test
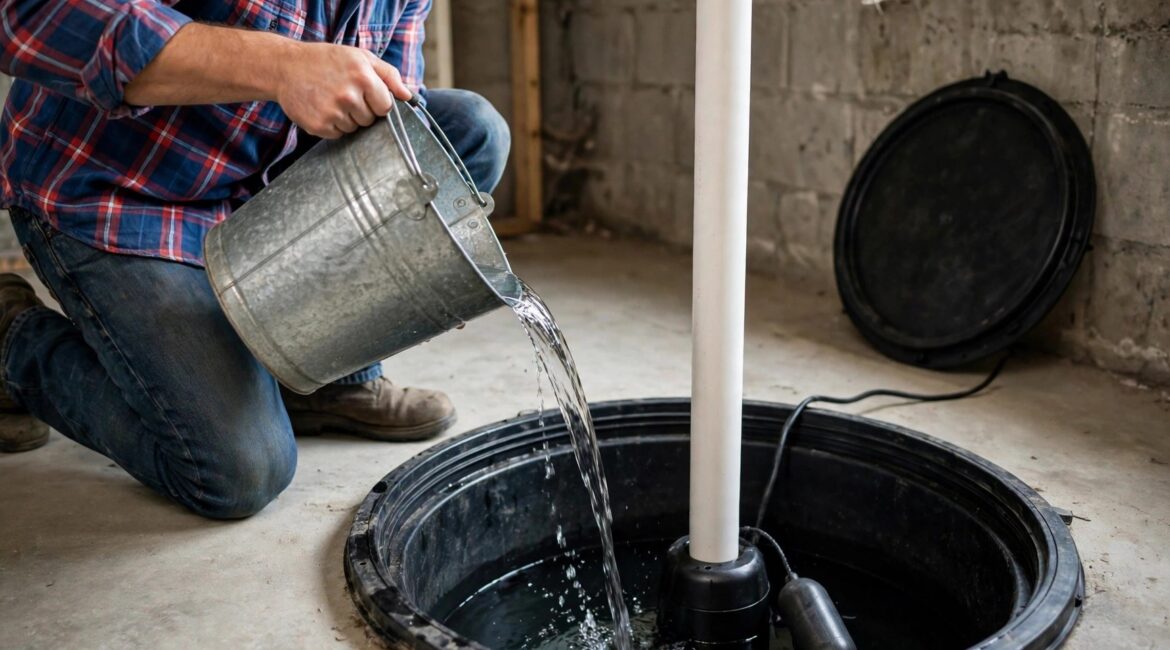
Find your sump pit. It is usually in the lowest corner of the basement or crawl space, under a lid. Lift the lid and look inside. You will see the pump at the bottom, a float switch attached to it, and a pipe running up and out of the pit.
Step one: check the power. Make sure the pump is plugged in and the outlet has power. Pumps get unplugged during summer projects and forgotten. To test the outlet, plug in a lamp or a phone charger. If your pump has a battery backup unit, check that its indicator shows a full charge.
Step two: look before you pour. The pit should hold the pump and not much else. Scoop out any gravel, silt, or debris sitting around the pump. Debris jams floats and clogs intakes, and it is easier to remove now than mid-test.
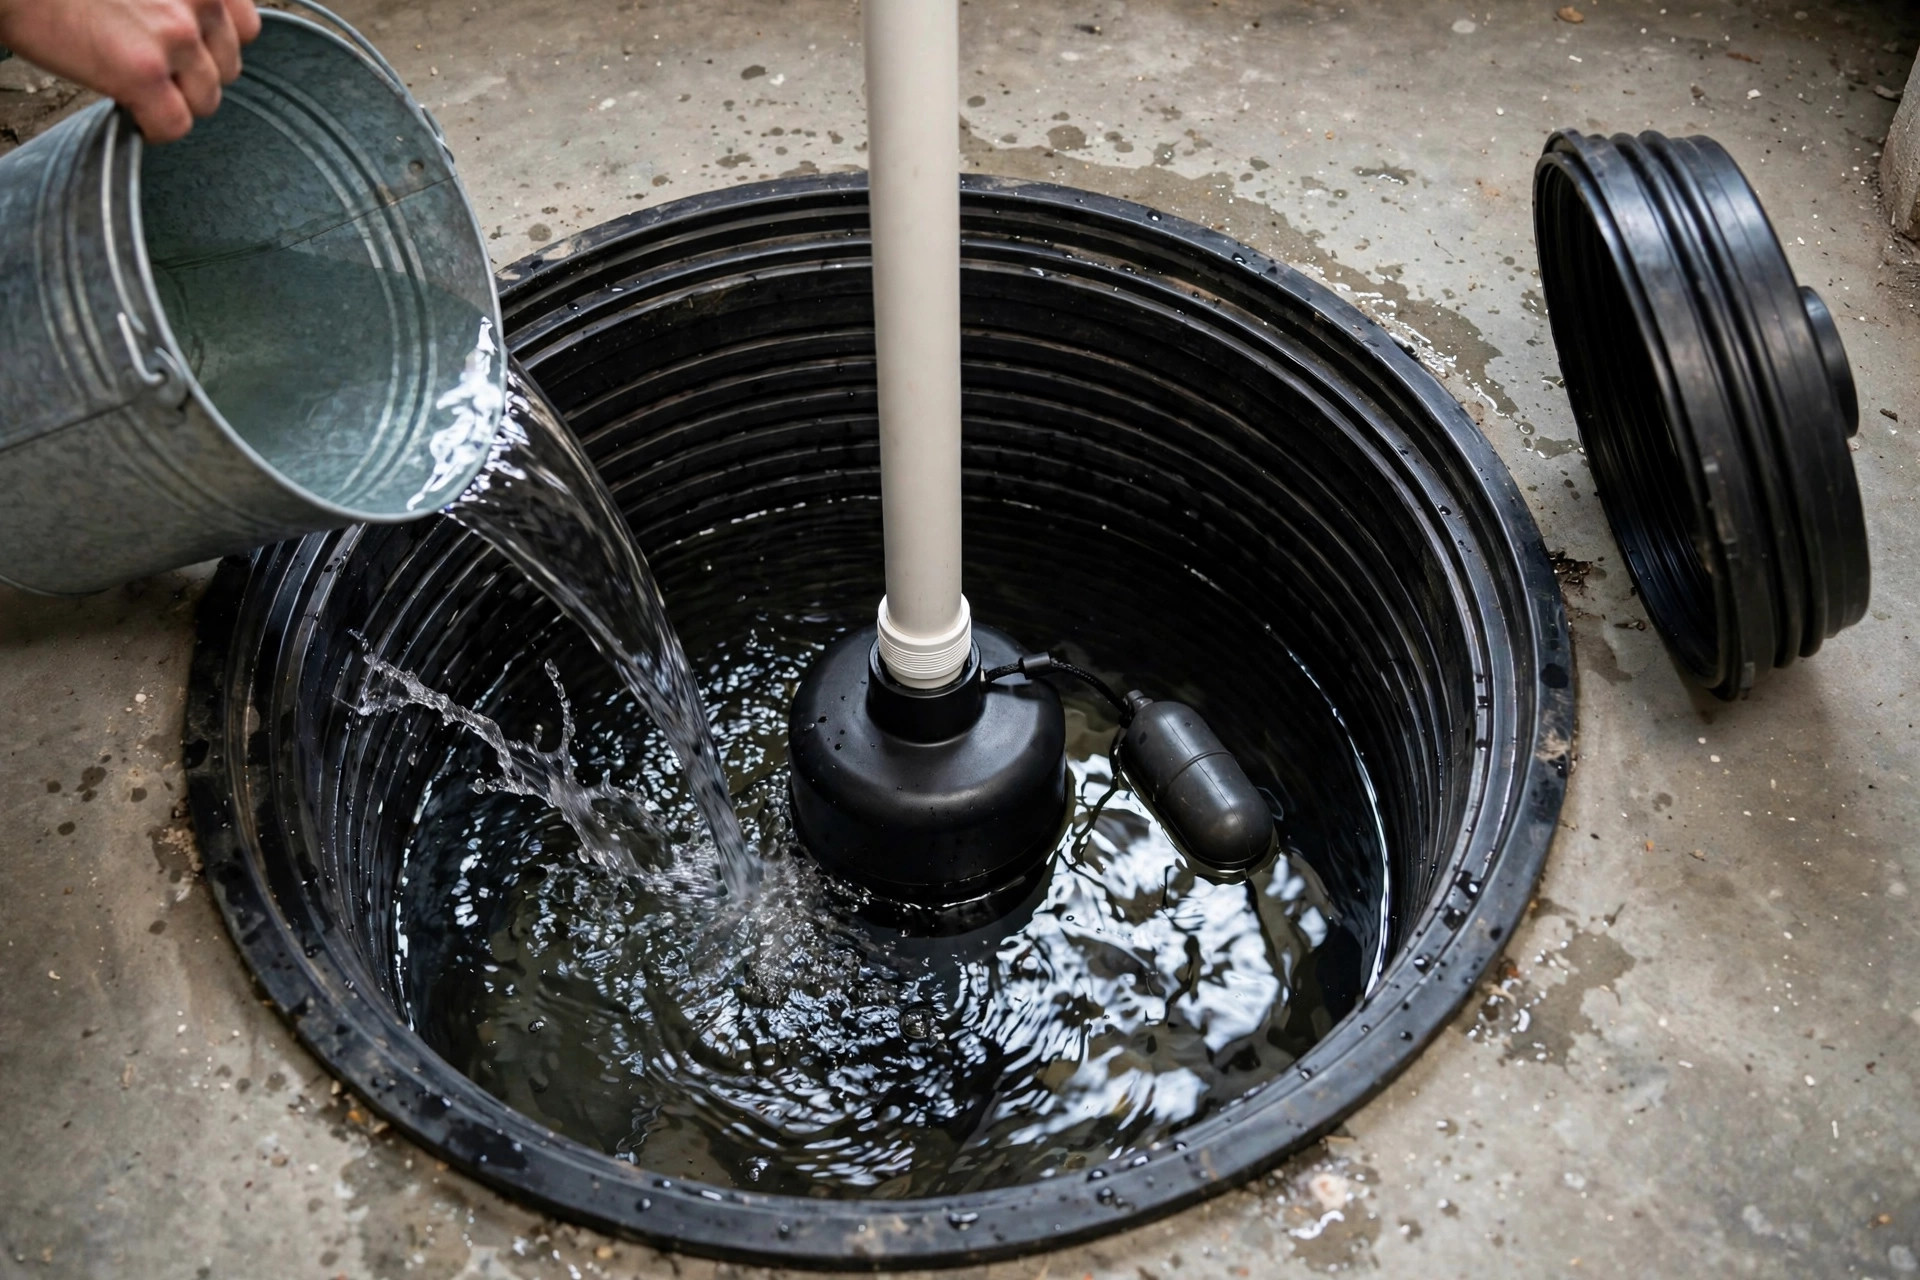
Step three: pour and watch. Fill the bucket and pour the water in slowly, off to one side, not straight onto the pump. As the water rises, the float should lift with it. When the float reaches its trigger point, the pump should kick on by itself.
Step four: watch and listen. Water should move out through the pipe fast and steady. The pump should sound smooth, not strained or rattly. Within a minute the level drops, the float falls, and the pump shuts off on its own.
That is the whole test. Pour, watch, listen.
Check where the water goes
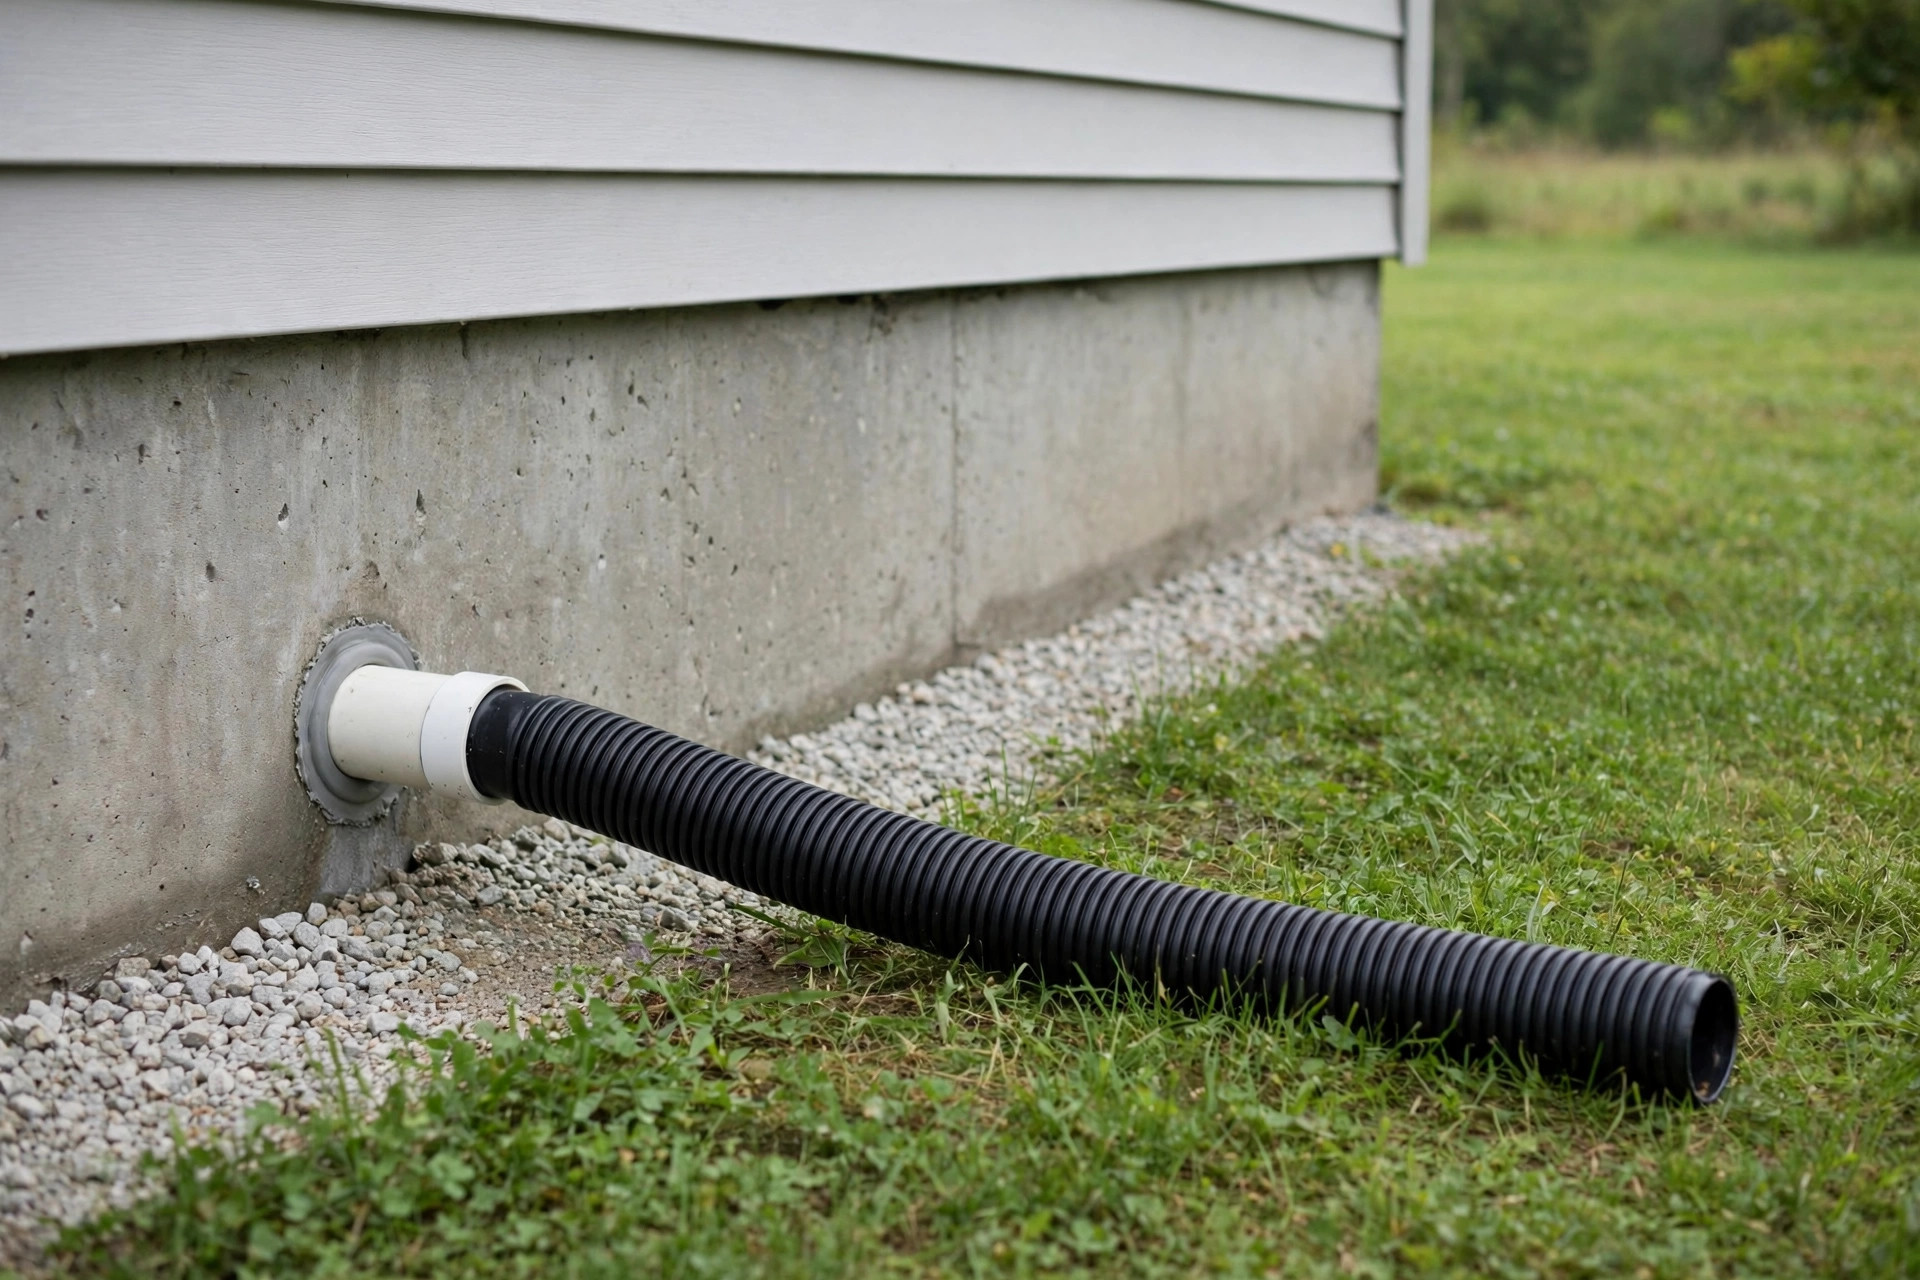
While the pump runs, walk outside. Find where the discharge pipe lets the water out.
It should release well away from the house, so the water does not soak straight back toward your foundation. If it dumps right beside the wall, the pump ends up moving the same water in a loop all storm long.
Also check the visible pipe for cracks, loose joints, or a section that has pulled apart. A discharge line that leaks sends water where you cannot see it. That damage is quiet, and it adds up over one wet season.
What the results tell you
It kicked on, pumped fast, and shut off cleanly. Your pump is ready for the season. Write the date on a piece of tape on the lid, and plan to repeat the test in spring.
It hums, but no water moves. Something is blocking the flow. The intake may be clogged, or the check valve may be stuck shut. Clear any visible gunk from the pit and try once more. If it still only hums, stop there, because forcing it can overheat the motor.
It never turned on at all. Check the float first. Floats get stuck against the side of the pit or tangled in their own cord. Gently free the float, make sure it can rise and fall freely, and test again. Still nothing usually means the switch or the motor has failed.
It runs but never shuts off. The float is likely stuck in the raised position, or the switch is worn out. Unplug the pump for now. A pump that runs dry burns out its motor, and a burned out pump protects nobody.
It sounds rough, rattly, or strained. Treat that as an early warning. Pumps rarely get quieter with age. A pump that struggles on a calm October afternoon will not improve during a November storm.
Three small fixes worth trying first
Some failed tests have simple causes. These three are safe for any homeowner.
Clear the pit. Leaves, gravel, and silt drift in over the years. A clean pit gives the float room to move and the pump room to breathe.
Straighten the float. The float needs a clear path up and down. If its cord is wrapped around the discharge pipe, unwind it and leave some slack.
Test the outlet. Plug a lamp into the same outlet. If the lamp is dead too, check your breaker panel and the outlet’s reset button before you blame the pump.
If none of those change the result, the problem sits inside the pump or the switch. That is where DIY stops.
A word on battery backups
Fall storms are exactly when the power goes out. A sump pump without power is just a bucket with a lid.
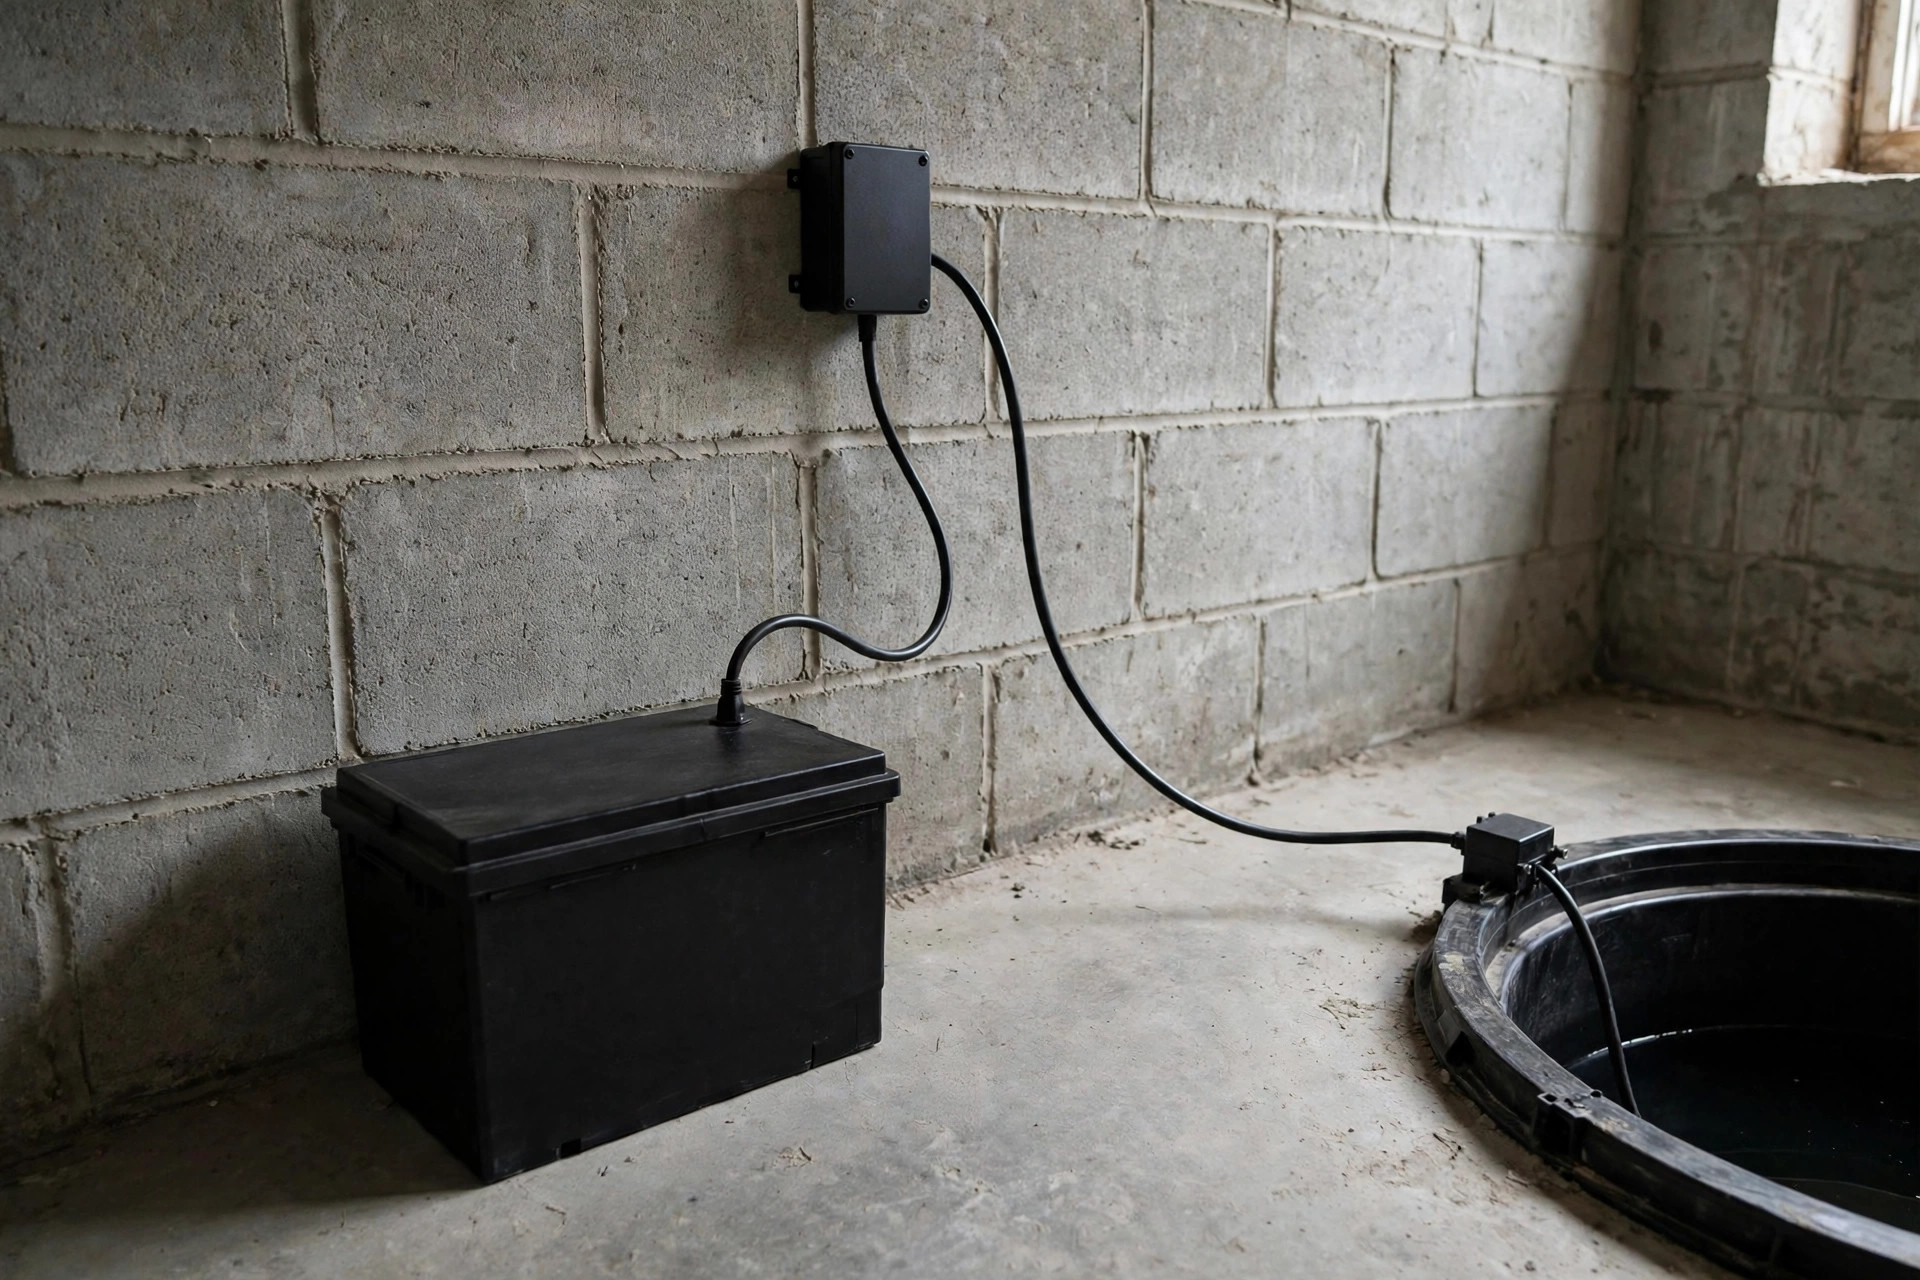
A battery backup is a second, smaller pump that runs on a battery when the main pump loses power or cannot keep up. It is not a must for every home. It matters most if your pit fills quickly during heavy rain, or if your basement holds anything water would ruin.
If your test went well but you have no backup, you have options to weigh before storm season, not during it. That is a good conversation for a free quote visit, while there is no water on the floor.
Where the DIY line sits
Everything above is fair game for a homeowner. Running the bucket test, clearing debris, and freeing a stuck float are simple and safe.
Call a licensed plumber when any of these show up:
- The pump is seven to ten years old and struggles on the test
- The discharge pipe is cracked, disconnected, or drains too close to the foundation
- There is no check valve, and water flows back into the pit after each cycle
- You want a battery backup installed before storm season
- There is any sign of water damage, mould, or efflorescence on the walls near the pit
A sump pump is the one piece of plumbing you never want to discover is broken during a storm. Five minutes now beats a flooded basement later. If your test raised any doubt, book a free quote with South Surrey Plumbing at (604) 897-4989. We will make sure you are ready before the heavy rain arrives. For the rest of the house, see our atmospheric river prep guide.
Sump pump questions we hear a lot
How often should I test my sump pump?
Twice a year is a good habit: once in early fall before the rains, and once in spring. Test it any time after the power has been out, too. The test is the only way to know it still works.
How long does a sump pump last?
Most sump pumps last seven to ten years. Age alone is not a reason to replace one. A pump that passes the bucket test cleanly still has work in it. One that struggles or sounds rough is telling you its time is close.
What is a check valve, and why does it matter?
A check valve is a one-way valve on the discharge pipe. It stops water from flowing back into the pit after each cycle. Without one, the pump pushes the same water out again and again and wears out sooner.
Can I replace a sump pump myself?
Some homeowners do, and the pump itself is simple. The harder parts are the discharge connection and the check valve. A poor seal or missing valve causes the failures this test looks for. We draw the DIY line at testing and small fixes, and leave installs to a licensed plumber.
What should I do if my pump fails during a storm?
Move anything water would ruin off the floor first. Keep clear of the pit if water is near the outlet. Bailing by hand buys a little time, but a failed pump in a real storm is a call-a-plumber situation, the sooner the better.